No products in the cart.
Introduction:
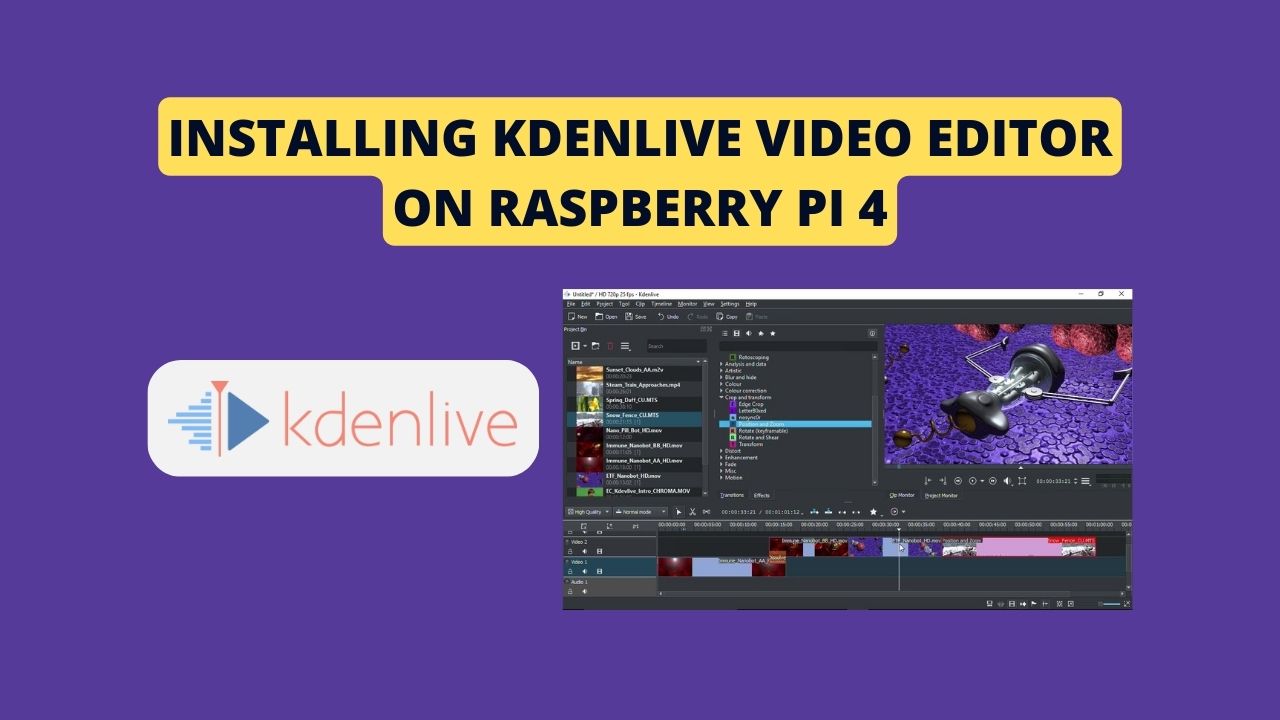
Are you looking to turn your Raspberry Pi 4 (8GB Recommended) into a capable video editing machine? In this step-by-step tutorial, we’ll guide you through the process of installing Kdenlive, a powerful open-source video editor, on your Raspberry Pi 4. With its intuitive interface and feature-rich capabilities, Kdenlive is an excellent choice for video editing enthusiasts.
Prerequisites:
Before we begin, ensure that your Raspberry Pi 4 is powered up and connected to the internet.
Step 1: Open the Terminal
Launch the terminal on your Raspberry Pi 4. You can find it in the application menu or by pressing Ctrl + Alt + T.
Step 2: Update Package List
In the terminal, enter the following command to update the package list:
sudo apt-get update
Step 3: Install Kdenlive Dependencies
Execute the command below to install the necessary dependencies for Kdenlive:
sudo apt-get install kdenlive
Step 4: Wait for Installation
Allow the system to download and install the required packages. The duration may vary depending on your internet connection speed.
Step 5: Launch Kdenlive
Once the installation is complete, run Kdenlive by entering the following command:
kdenlive
Conclusion:
Congratulations! You’ve successfully installed Kdenlive on your Raspberry Pi 4. Start exploring its features and unleash your creativity by editing videos directly on your Raspberry Pi.
Additional Tips:
- Check the official Kdenlive website for updates and additional features.
- Explore other video editors like Shotcut, Olive, or Blender for alternative options.
- Join Raspberry Pi forums to stay updated on community experiences and tips.
By following these simple steps, you can transform your Raspberry Pi 4 into a capable video editing platform using Kdenlive. Enjoy editing your videos effortlessly!
