No products in the cart.

Introduction:
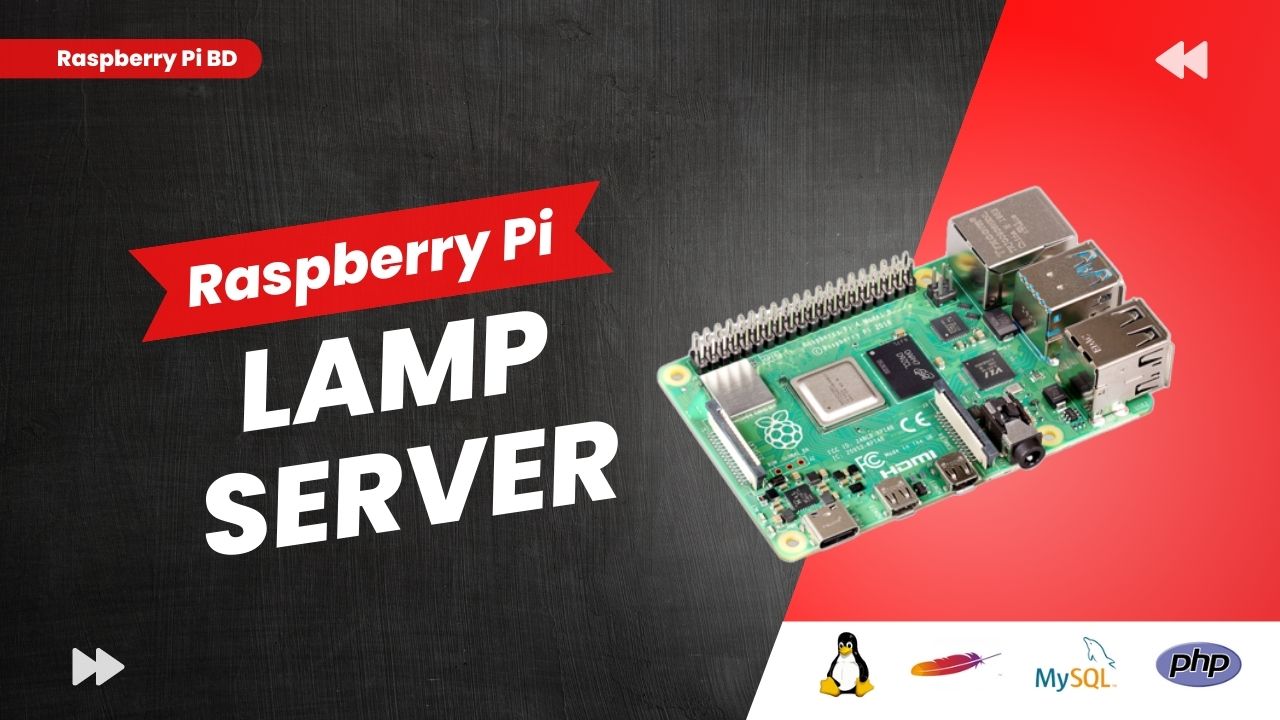
In this step-by-step guide, we will walk you through the process of setting up a LAMP (Linux, Apache, MySQL, PHP) server with phpMyAdmin on your Raspberry Pi. LAMP is a popular web development stack that allows you to host dynamic websites and web applications on your Raspberry Pi. With phpMyAdmin, a web-based MySQL administration tool, managing your MySQL databases becomes much more straightforward.
Before we proceed, please ensure you have a Raspberry Pi with Raspbian (or a compatible Linux-based operating system) installed and have access to the command line interface. This guide assumes that you have basic knowledge of using the terminal and working with Linux commands.
Let’s get started with the installation and configuration of the LAMP stack and phpMyAdmin on your Raspberry Pi!
- Install Apache and PHP:
sudo apt-get install apache2 -y
sudo apt-get install php -y
- If the installation fails, add the Raspbian repository and update:
sudo nano /etc/apt/sources.list
Add the following line to the end of the file:
deb http://raspbian.raspberrypi.org/raspbian/ buster main contrib non-free rpi
Save and exit the text editor. Then update the package list:
sudo apt update
- Remove the default index.html and restart Apache:
sudo rm /var/www/html/index.html
sudo service apache2 restart
- Install MariaDB and PHP MySQL module:
sudo apt install mariadb-server php-mysql -y
sudo service apache2 restart
- Secure the MariaDB installation:
sudo mysql_secure_installation
Follow the prompts to set the root password and answer the security-related questions.
- Create a new MySQL user and grant privileges:
sudo mysql --user=root --password
Enter the root password when prompted and then run the following MySQL commands:
> create user admin@localhost identified by 'root';
> grant all privileges on *.* to admin@localhost;
> FLUSH PRIVILEGES;
> exit;
- Install phpMyAdmin and enable mysqli extension:
sudo apt install phpmyadmin -y
sudo phpenmod mysqli
sudo service apache2 restart
- Create a symbolic link to phpMyAdmin in the webserver’s root directory:
sudo ln -s /usr/share/phpmyadmin /var/www/html/phpmyadmin
- Set appropriate ownership and permissions for the web server:
ls -lh /var/www/
sudo chown -R pi:www-data /var/www/html/
sudo chmod -R 770 /var/www/html/
ls -lh /var/www/
sudo nano /etc/apache2/sites-available/000-default.conf
Add the following lines within the
<directory>section, just before the closing
</directory>tag:
<Directory "/var/www/html">
    AllowOverride All
</Directory>
Save and exit the text editor.
- Restart Apache to apply the changes:
sudo service apache2 restart
Your Raspberry Pi now has a LAMP server with phpMyAdmin installed. Enjoy your web hosting setup!


hello
Thank you for the tutorial which I followed step by step, but it unfortunately did not work for me as /etc/apache2/sites-available/000-default.conf
did not contain a section