No products in the cart.

🛠️ What You’ll Need
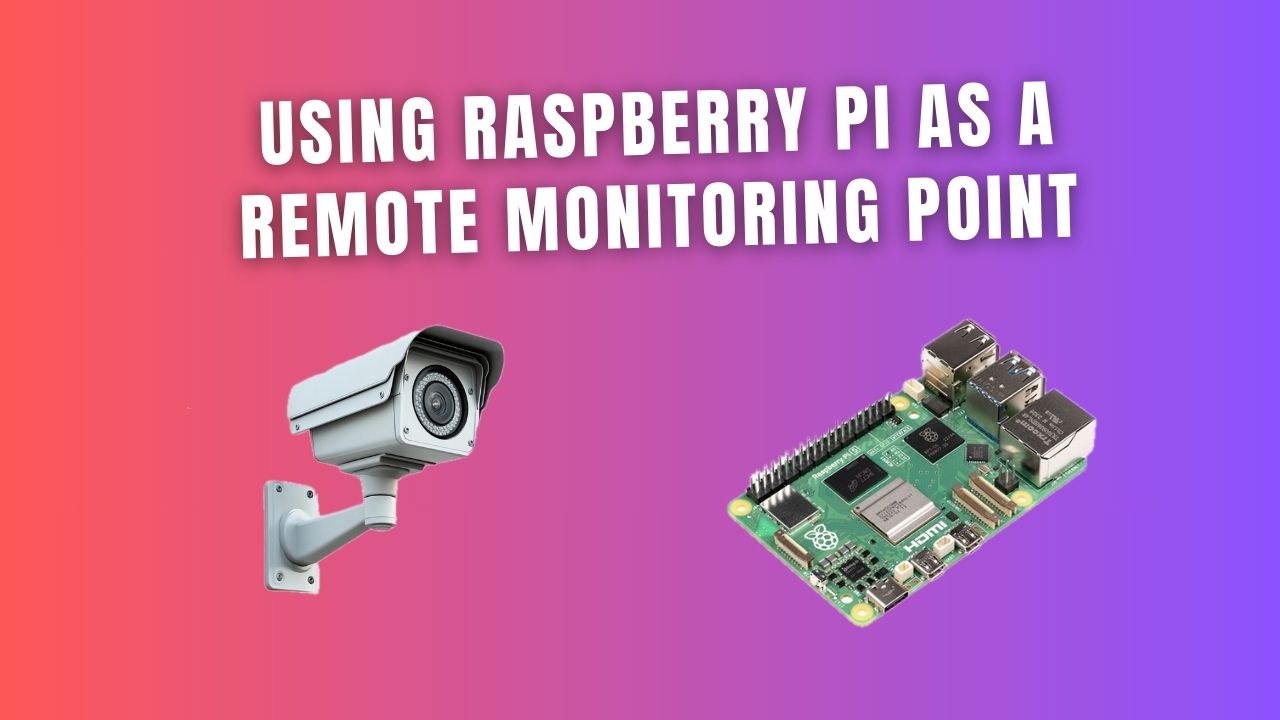
Before you start, gather the following items to turn your Raspberry Pi into a remote monitoring point:
- Raspberry Pi 5 (or earlier versions like Raspberry Pi 3/4 for lighter tasks)
- MicroSD card (at least 16GB for the operating system and monitoring software)
- Power supply for Raspberry Pi
- Internet connection (via Ethernet or Wi-Fi)
- Sensors or cameras (depending on the type of monitoring you plan to do, such as temperature sensors, cameras, or environmental sensors)
- Software (varies depending on the monitoring application you need, such as OpenCV for camera monitoring or InfluxDB for sensor data)
🌐 Step 1: Set Up the Raspberry Pi
The first step in setting up your Raspberry Pi for remote monitoring is to install the appropriate operating system. Raspberry Pi OS (formerly Raspbian) is the best option for most projects, but other operating systems like Ubuntu Server can also be used, depending on your needs.
- Download Raspberry Pi OS from the official Raspberry Pi website: Download Raspberry Pi OS.
- Use a tool like balenaEtcher to flash the OS onto the microSD card.
- Once the OS is installed, insert the microSD card into your Raspberry Pi and boot it up.
- Complete the initial setup steps, including connecting to Wi-Fi and updating the system.
🔧 Step 2: Configure Remote Access
To make your Raspberry Pi accessible from a remote location, you’ll need to configure remote access. SSH (Secure Shell) is the most common method for remote access. If you haven’t enabled SSH yet, follow these steps:
- Ensure SSH is enabled on your Raspberry Pi by running the following command in the terminal:
sudo raspi-config
and navigate to Interfacing Options > SSH > Enable. - Alternatively, you can create an empty file named ssh (no file extension) in the root directory of the boot partition on the SD card, and SSH will be enabled automatically when the Pi boots up.
- Connect to your Raspberry Pi remotely via SSH from another computer using the terminal with:
ssh pi@
You can also set up VNC (Virtual Network Computing) if you prefer a graphical interface for remote access.
📷 Step 3: Set Up Camera or Sensors for Monitoring
Depending on the type of monitoring you plan to do, you’ll need to connect sensors or cameras to your Raspberry Pi. Below are some common remote monitoring use cases:
Security Monitoring with Camera
To set up security camera monitoring, you can use a Raspberry Pi camera module or a USB webcam. The camera can be connected via the camera interface or USB port, respectively.
- For the Raspberry Pi camera module, use the
raspistillandraspividcommands for still images and video. - For USB webcams, use software like MotionEye or MJPG-streamer to capture video and stream it remotely over the internet.
Environmental Monitoring with Sensors
If you’re monitoring environmental conditions like temperature, humidity, or air quality, you can use a variety of sensors. Common ones include the DHT22 for temperature and humidity or the MQ series for gas detection.
- Connect the sensor to the GPIO pins on the Raspberry Pi and install any necessary libraries or drivers.
- Use Python scripts to collect data from the sensors and send it to a cloud service or local server for monitoring.
- For advanced data storage, you can use InfluxDB to store the sensor data and visualize it using Grafana.
🔒 Step 4: Secure Your Remote Monitoring System
Since your Raspberry Pi will be accessible remotely, it’s important to secure it properly to prevent unauthorized access. Here are a few security tips:
- Change the default password of the pi user to something more secure.
- Set up a firewall on the Raspberry Pi to restrict access to only the necessary services.
- Use SSH keys for authentication instead of passwords to add an extra layer of security.
- If accessing the Pi over the internet, consider using a VPN or reverse SSH tunnel for a more secure connection.
🌍 Step 5: Monitor Data Remotely
Once your sensors or cameras are set up and data is being captured, you can monitor everything remotely from anywhere. Use web interfaces, cloud platforms, or smartphone apps to access the data:
- Security Cameras: Use software like MotionEye or MJPG-streamer to stream live video feeds to a remote device. You can even set up motion detection alerts to be notified of any activity.
- Sensor Data: Set up a dashboard using InfluxDB and Grafana to visualize sensor data in real-time. You can access the dashboard remotely from any device with a web browser.
For advanced remote monitoring, you can integrate data from multiple Raspberry Pi devices into a centralized monitoring system using MQTT, Node-RED, or other IoT platforms.

